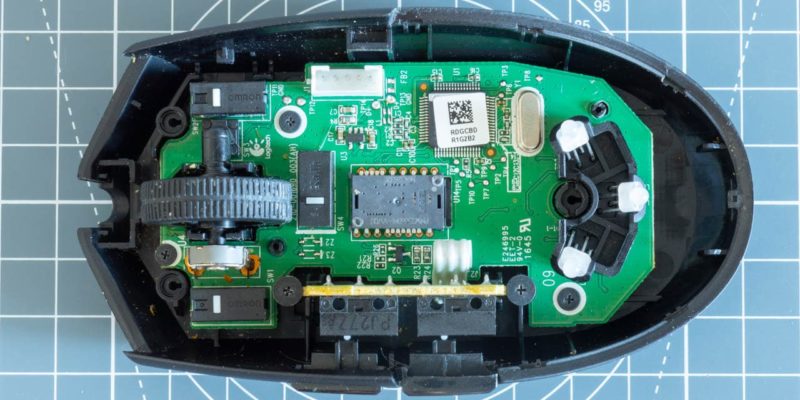
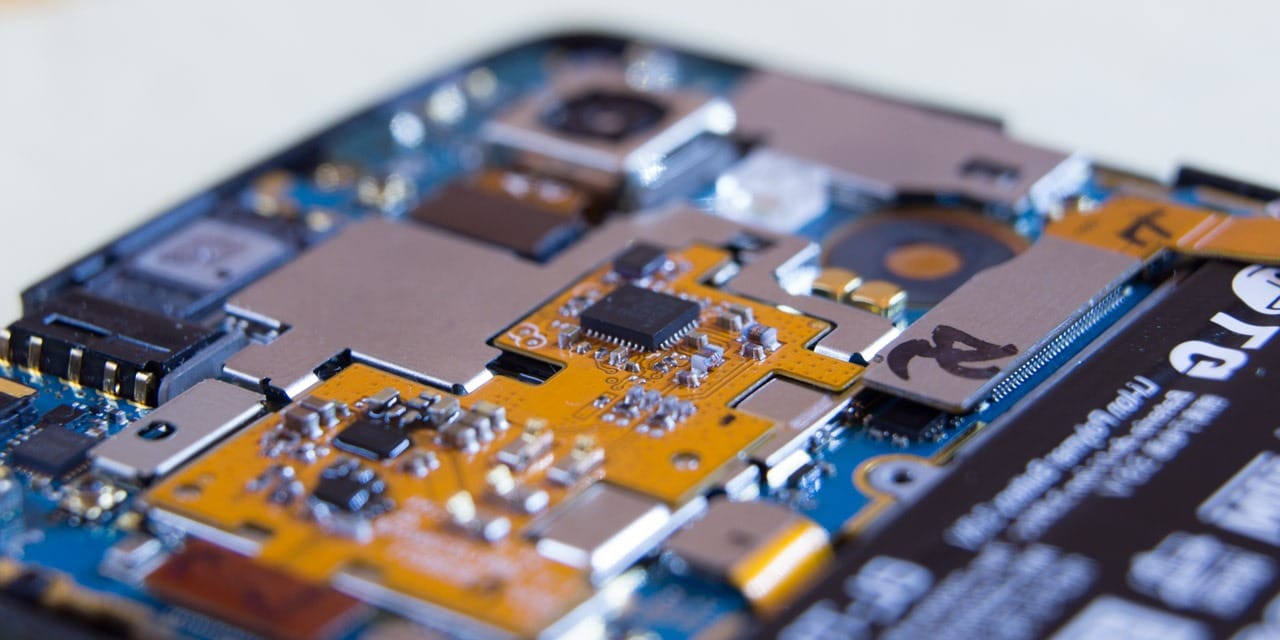
A macro view of the internal printed circuit board of an LG Nexus 5 mobile phone.
Our site is reader-supported. When you buy via the affiliate links on this site, we will receive a commission at no cost to you. All opinions remain our own. Learn more

Nexus 5 Power Button Fix: A Thorough DIY Repair Guide

A while back my trusty LG Nexus 5 started to develop problems. The power button got stuck and caused the Nexus 5 to turn on and off by itself. Eventually it got stuck in a bootloop and would not power up anymore altogether.

The power button issue is common with this phone, but luckily it is possible to fix the problem. In this article I will explain how to repair the power button of your Nexus 5.

Before showing you how to fix your Nexus 5 power button, I will first answer some frequently asked questions:

What Causes the Power Button on the Nexus 5 to Break?

Simply put, the power button on the Nexus 5 breaks because it is only rated for a certain number of presses. This number is fairly low, and thus after a couple of years of use, the button stops working properly. LG could have prevented this by using a slightly more expensive button, but they didn’t.

The power button on the Nexus 5 is its most common failure point, and if you look around online you will be able to find many people with the same problem.

How Can You Tell if the Nexus 5’s Problems are Caused by the Power Button?

The power button on the Nexus 5 will almost always fail in a closed state. This means that when the power button breaks, it acts like it is pressed all the time. You can test the button’s contacts with a multimeter (see the step-by-step guide down below) to confirm that the button is the problem.

That said, when the Nexus 5 randomly restarts or gets stuck in a boot loop, it is usually the power button that is causing it. Especially if the phone is getting old (which they all are by now), and you haven’t made any recent changes to the software (such as rooting the phone) that could cause the boot loop.

Top view of a LG Nexus 5 phone stuck in a boot loop.
The bootloop screen that my phone would get stuck at.

How Can You Fix the Nexus 5 Power Button?

In order to properly repair the power button on the Nexus 5, you will need to remove it and solder a new replacement button in place. You can find some other fixes online (e.g. tapping the button hard for a while), but these fixes are only temporary (provided they work at all).

Replacing the button is the only way to go in order to get a lasting result.

What Do You Need to Replace the Power Button on the Nexus 5?

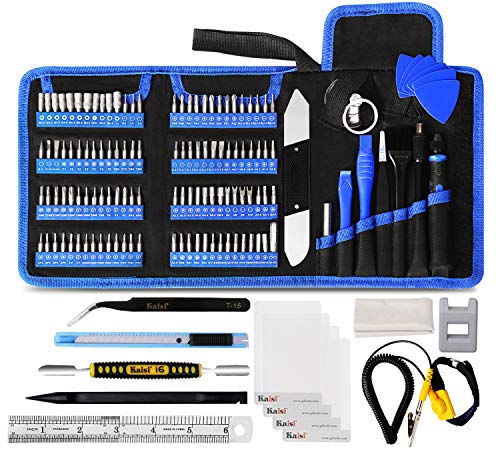
You will need some basic tools, a soldering kit, and of course a replacement power button. A more detailed list of the required tools and materials can be found below, along with a step-by-step guide to replace the button.

I recommend buying a couple extra replacement power buttons, just in case one ends up damaged during the soldering process.

Is It Worth Fixing?

Absolutely, throwing out a good phone because of a small broken button is a big waste. Repairing the button is not hard to do and will save you a lot of money not having to buy a new phone.

How to Repair a Nexus 5 Power Button

What You’ll Need

Getting Access to the Circuit Board
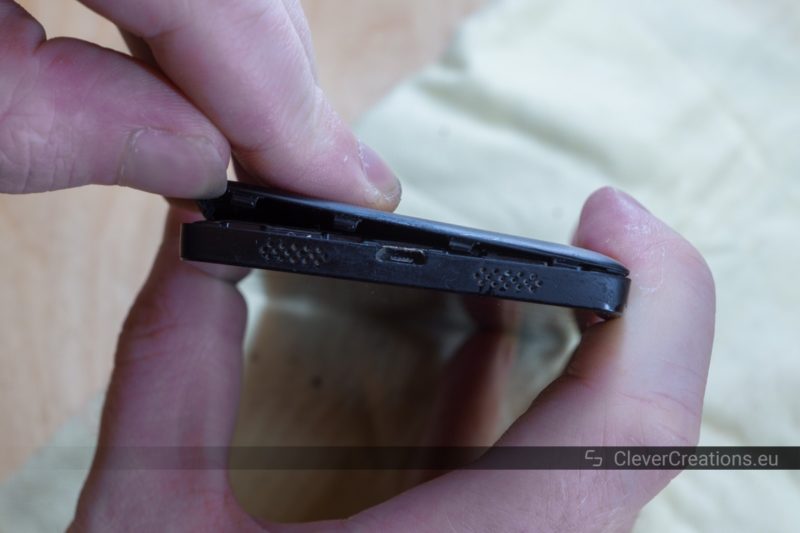
Two hands holding a LG Nexus 5 phone and removing the back cover.
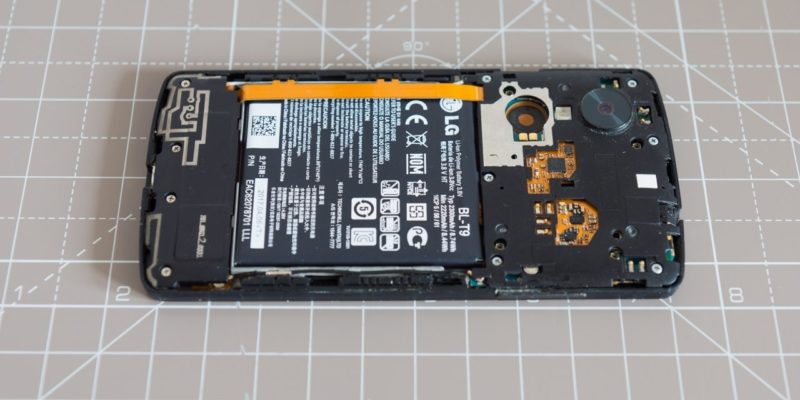
Start by removing the back cover from the Nexus 5. You can do this with the prying tool from your electronics toolkit, or just use your nails like I did.
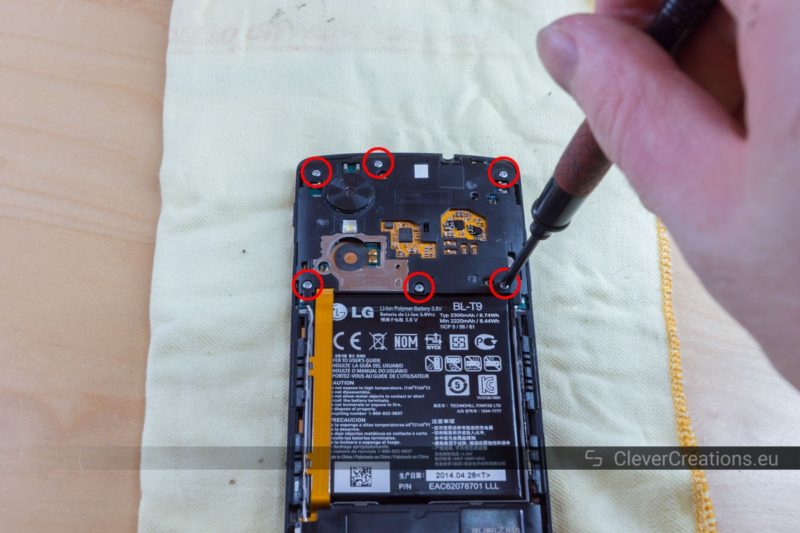
A hand holding a screwdriver and removing one out of six circled screws on the motherboard cover of a Nexus 5 phone.
Unscrew the six circled screws.
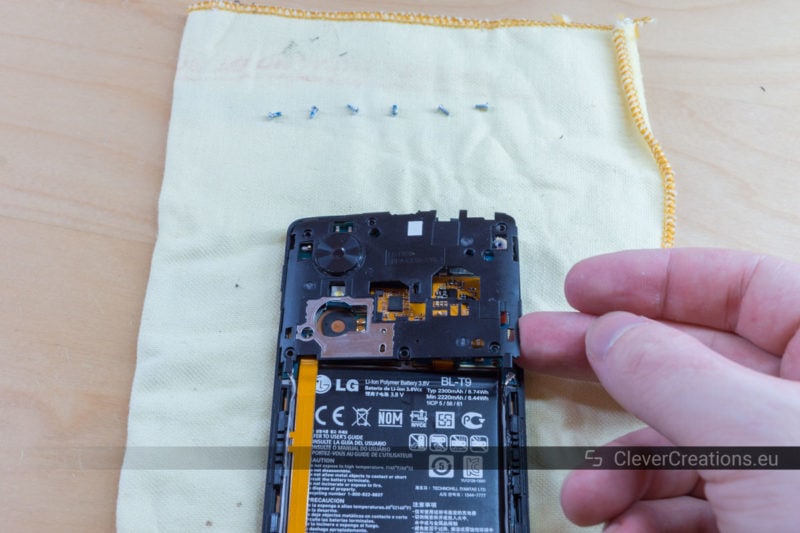
A hand lifting the motherboard cover from a partially disassembled LG Nexus 5 phone.
Lift the circuit board cover off.
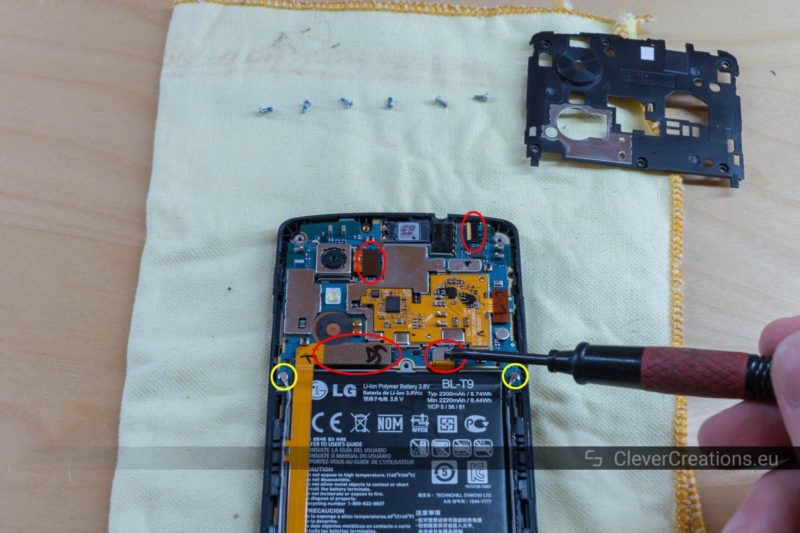
Four circled flex cable connectors and two circled antenna connectors on the motherboard of a Nexus 5 phone.
Carefully disconnect the four flex cables (circled in red) and the two antenna connectors (circled in yellow) Start with the battery flex cable, indicated by the screwdriver. It is important to disconnect the battery first, so that we do not accidentally short anything out while disconnecting the other cables.
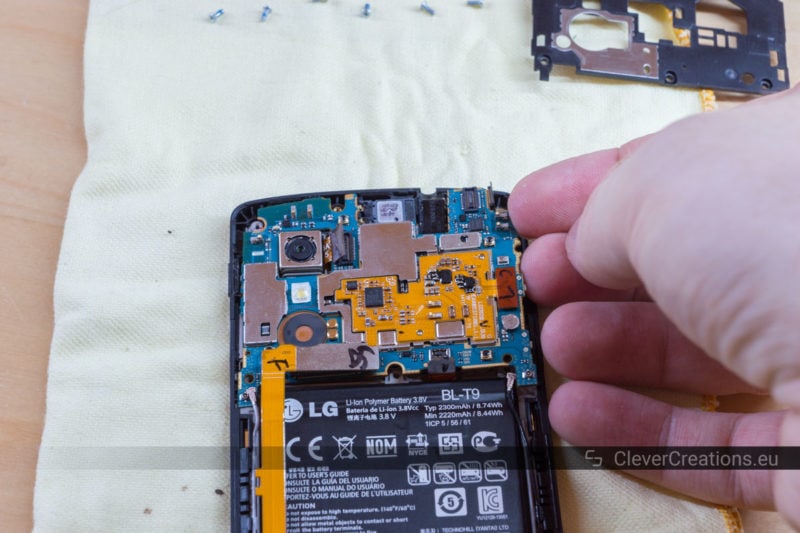
A hand carefully lifting the motherboard out of a LG Nexus 5 phone.
Lift the circuit board out. Start with the right side, and make sure to lift it around the fragile camera flex cable on the top left.

Desoldering the Broken Power Button
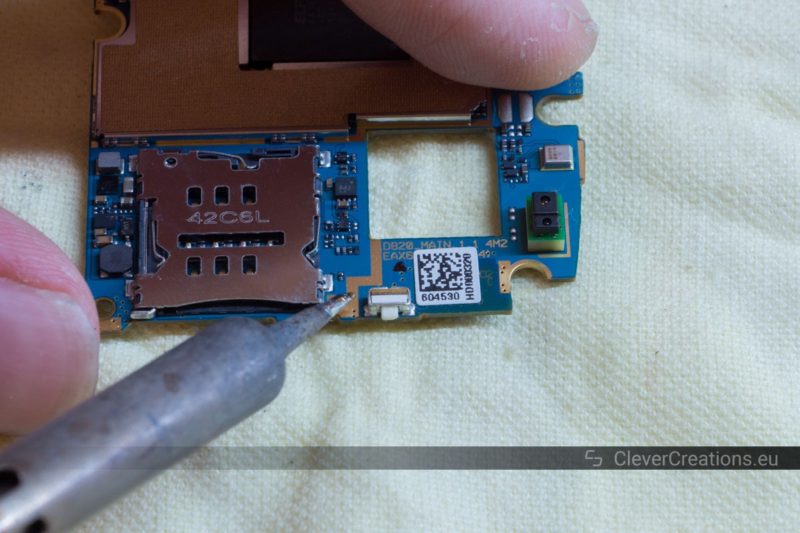
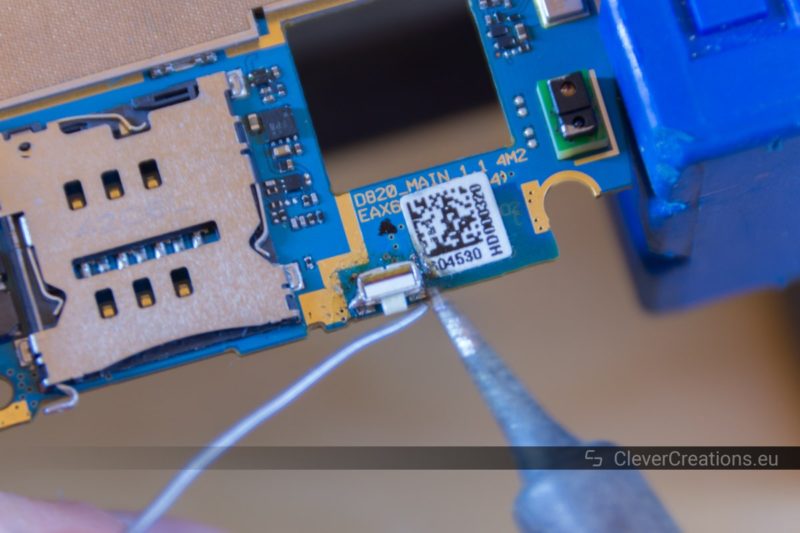
A soldering iron pointing at the power button of a Nexus 5 motherboard.
Desolder the old power button from the circuit board. It can be found on the back, next to the SIM card slot. Use the soldering iron to heat up the solder on the solder pads of the button, and use a desoldering pump (or solder wick) to remove as much solder as possible. Then heat up the pads once again and take off the button with a pair of tweezers.
Notification icon
The lead free solder used on the board has a high melting temperature. In order to make the removal easier, it can help to melt in some regular lead solder to lower the overall melting temperature, before removing it all with the desoldering pump or solder wick.
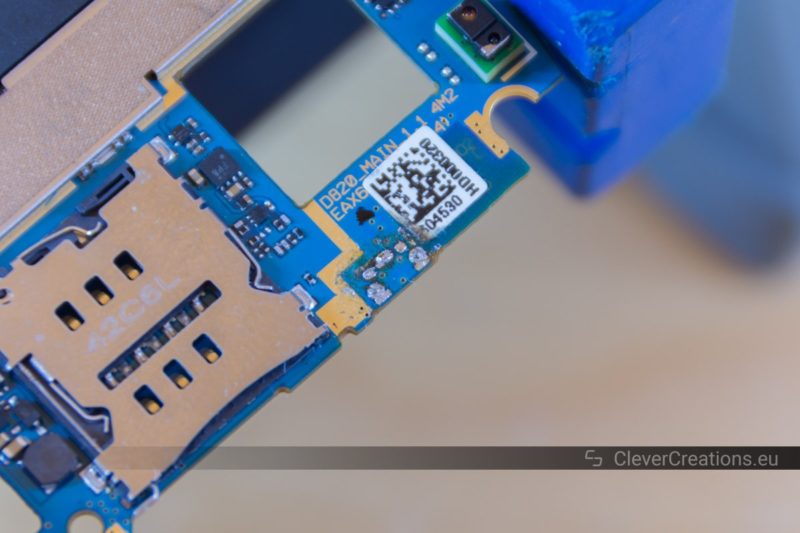
Five exposed solder pads on the motherboard of a Nexus 5 phone.
After removing the button, clean up the solder pads. Remove any remaining solder with a solder wick or the desoldering pump. Then clean the area with some isopropyl alcohol.

Soldering the New Power Button

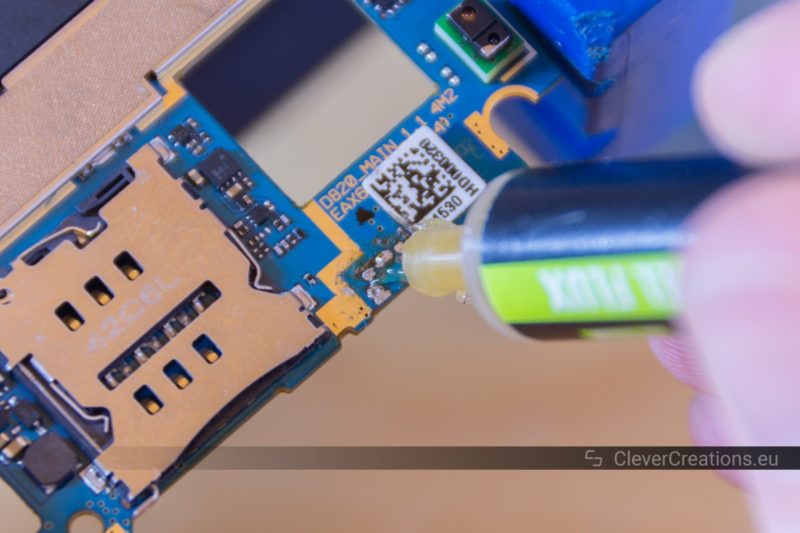
Solder flux being added to exposed solder pads on a phone motherboard.
If you have it, add some solder flux to the solder pads. This will help the solder flow into place when soldering the new button.
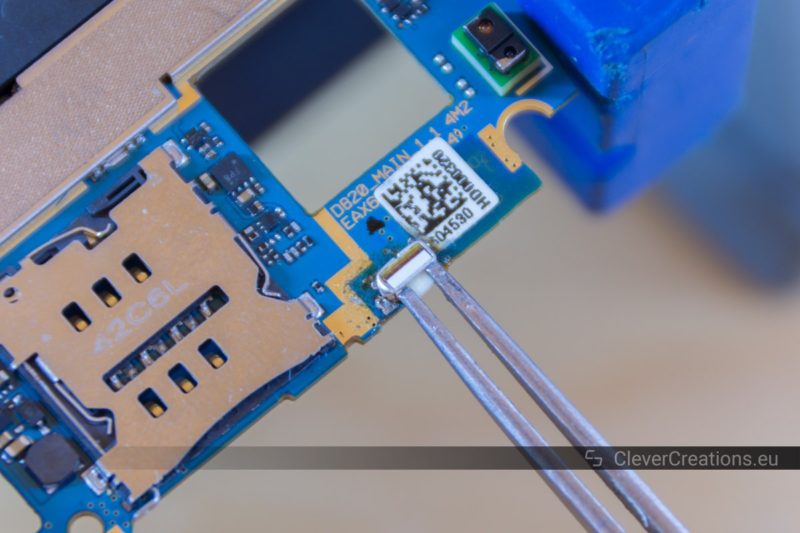
A power button being placed on a phone motherboard by using fine point tweezers.
Place the replacement power button onto the solder pads. This is precise work, using a pair of tweezers to place the button will help.
A solder iron with solder being used to solder a power button on a phone motherboard.
Solder the power button to the circuit board. Use a small bit of solder per pad, so that none of the connections get bridged by excess solder.
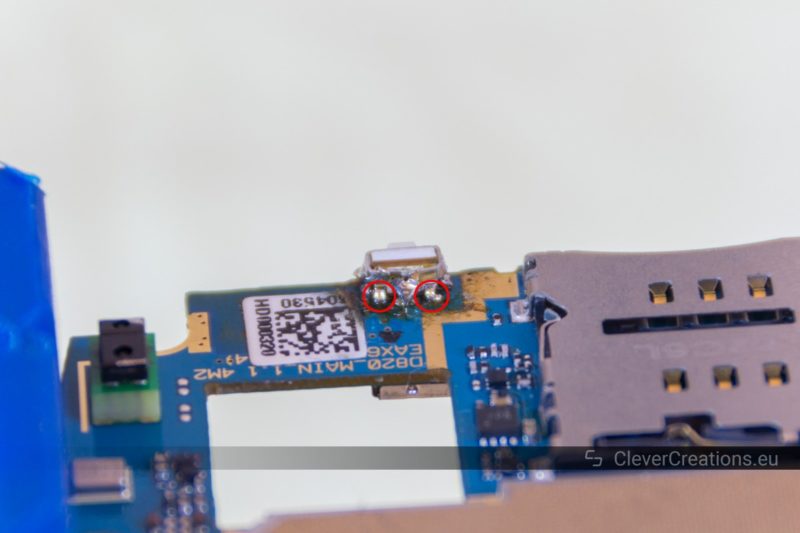
Two circled pins of a power button on a Nexus 5 motherboard.
Check whether the button is working correctly. This can be done with a multimeter. The two circled pins should only make a connection when the button is pressed.

After replacing the button, reassemble the phone by doing the above steps in reverse.

Notification icon
When reconnecting the cables, make sure to connect the battery flex cable at the end. That way, nothing can be accidentally shorted out when plugging in the other cables.
The boot screen of a LG Nexus 5 phone.
Success! The phone makes it past the boot loop point and boots normally.
Notification icon
If the wireless charging and NFC on the Nexus 5 do not work after reassembly, make sure that the back cover is seated well. The center of the cover must clip into place for the NFC and wireless charging circuits to connect.

A Summary of the Repair Process

  1. Remove the back cover of the Nexus 5.
  2. Unscrew the six screws of the circuit board cover.
  3. Remove the circuit board cover.
  4. Disconnect the flex cables, as well as the antenna cables.
  5. Lift the circuit board out.
  6. Desolder the broken power button.
  7. Clean the solder pads.
  8. Add flux to the solder pads.
  9. Solder the new power button in place.
  10. Test the power button.
  11. Reassemble the phone.

Conclusion

It has been a while since I repaired the phone and it still works as it is supposed to. I am glad I was possible to extend the phone’s lifespan instead of having the phone end up on a landfill somewhere, all because of a tiny button that only costs a couple of cents.
Author image
Tim is an expert in 3D printing, laser cutting, and 3D scanning with a background in mechanical engineering and product design. With decades of experience, he offers in-depth insights and practical solutions, contributing to his reputation as a trusted resource for DIY enthusiasts and professionals.

Leave a Comment

Comments are moderated on a ~24-48 hour cycle. There will be some delay after submitting a comment. Your email address will not be published.